How to Create Digital Stickers for Goodnotes Using Procreate
Let’s talk about digital stickers! How fun are these?!
This is like if you took gifs from your IG story and put them in your digital planner. I absolutely love making these to using in my ipad planning process.
I used to used a paper planner, bullet journal, and various other notebooks. On top of that, I used to create planner stickers using sticker paper and my Cricut. I actually started off my Etsy shop with the intention of creating sticker sheets. Until I realized the waste it produced. OH. MY. GOSH.

By the time I printed the stickers, did a trial run, messed up the ink twice, and cut out all the individual stickers, I had used up tons of paper for 1 sticker sheet. I felt awful about it. I was wasting so much paper, plastic, and money by trying to create all of these paper sticker packs. And that’s why I went 100% digital with my planning.
Anyways, I digress. You’re here to learn how to create digital stickers for your digital planners. So let’s get to it.
Class is officially in session.
Step 1: Draw your designs in Procreate

I use procreate to draw pretty much everything. It is my ride or die. It is my favorite ipad app of all time. Nothing beats it. This part is the fun part. All you have to do is draw out each sticker you want in your pack. You can create to-do stickers, digital post-it notes, and little lettering designs.
You can pretty much create whatever sticker designs you want and let your imagination run wild.
Step 2: Create white background (optional)
You might want to create a white outline of your sticker and fill it in to make your digital sticker stand out more. This is not necessary, but it does help your stickers to pop on the planner page. All you do is outline your sticker in white (on a layer BEHIND your drawing) and fill it in with white.
Step 3: Export your designs into Goodnotes

Then all you need to do is export your digital stickers into the Goodnotes app (or whatever digital planner app you are using. To see exactly how you do this, check out my full youtube video on my digital planning sticker making process (what a mouthful).
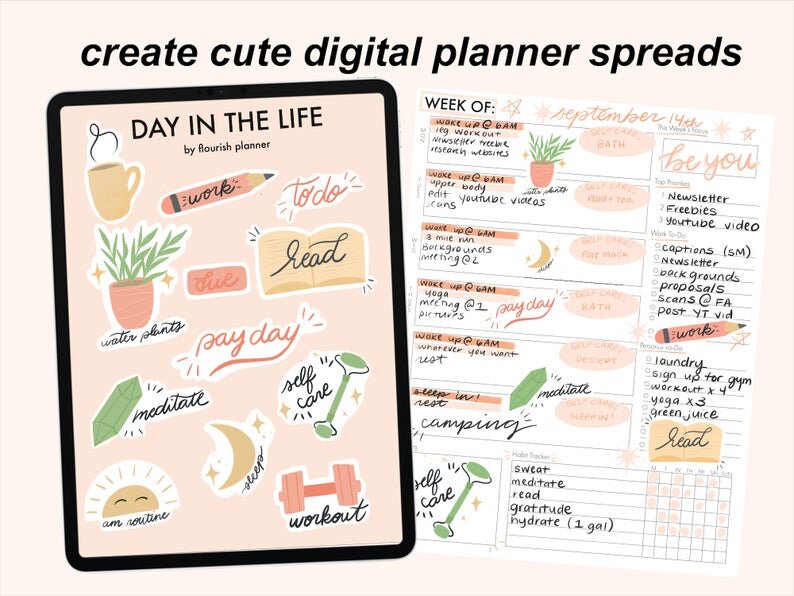
Step 4: Create *aesthetic* planner spreads
Now all that is left to do is create cute planner spreads in your digital planner. Just copy and paste your stickers into your planning sheets and go to town on the design. I love using these digital stickers because they are eco-friendly, customizable, and super fun to make!

Creating digital stickers isn’t as hard as it seems. While the process of uploading them can get a little tricky and tedious, it creates really aesthetic planner spreads that will inspire you daily. If you want to skip the hassle and are interested in purchasing digital stickers from my shop, I will drop the link right here: https://www.etsy.com/shop/flourishplanner