How to Use the Elements Tool in Goodnotes (Tutorial)
Are you new to Goodnotes? If so, you’ll LOVE the elements tool which can help you import fun stickers and images to liven up your lovely planner spreads! Even if you’re not super techy, you’ll find that using the elements tool is really easy and user-friendly. Before long, you’ll be wanting to teach all of your friends how to use it too!
If you want to see our YouTube video that accompanies this post, feel free to check it out as well for a double dose of how to use the elements tool.
How do I find the “elements” tool?
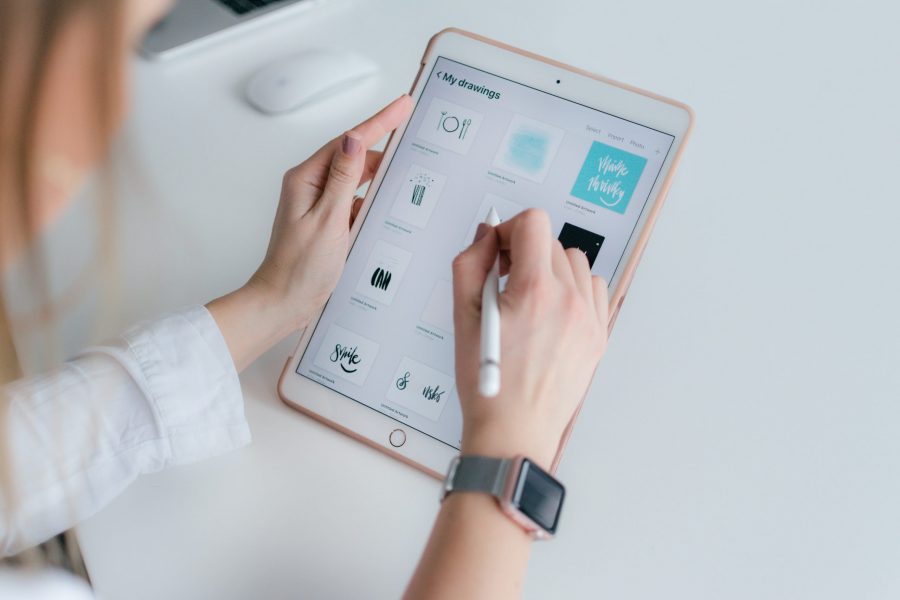
To find the elements tool, you can go to the top of your screen in Goodnotes and tap on the yellow star. You’ll find tons of pre-set designs available for you to choose from.
Or, if you want to add your own, you can simply hit the plus (+) button and you can add a new collection. You can begin by giving your collection a title such as, “everyday stickers.”

You have 2 options to import photos.
Option 1 to import photos:
Click “import from.”
Then, all of your files will pop up and you can choose whichever file you want to import.
Tap the file you want, and then you can individually add each sticker or item you want from the file. Remember that each one must be added individually.

Option 2 to import photos:
Find your stickers in your files app.
Hit the select tool, and then bulk select all of the stickers that you would like to import. You can even swipe down on your screen to do this really quickly.
Next, at the bottom of the screen hit the “share” button and “save.” This will save these to your photos app.
After that, go back into Goodnotes to the elements tool and hit “plus” (+) and title your new collection for example, “everyday stickers” and rather than hitting “import from” like you did before, this time you’ll hit, “add photos.” Then, bulk select all of them.
Once you’ve uploaded them, you can go back to your photos and delete them all.
Then, you can go back to your elements tool and you’ll see that all of your stickers are there!
You can click on whatever sticker you would like to use and move it around to wherever you want it to go. Super easy!

Can I add something to the same collection?
Yes! No problem. Just tap into it and add through “import files” or “add photos” as we did earlier!
How do I use multitasking with the elements tool?
Click the little button in the “top right-hand corner” as you can see in the picture below.

Then, you’ll be able to see the full collection of stickers side by side right next to your planner.

Other fun tips and tricks
Save something you love (graphics, text, etc.)
If you find something you really like and want to save it, just grab your “lasso tool” then tap it and hit “add element.” Then, add a new collection and give it a title.
This way, if you ever create a graphic or a text that you really love, you can easily save it!
Save images from Pinterest
Go to Pinterest, hit the 3 dots at the top right-hand corner, and then download whatever images you want to save.
Then, just like we did earlier, you can open up the elements tool, title your collection, and hit add photos. Once you highlight all of the photos you want to upload, just hit “create.”
Using images from Pinterest is an easy hack to add some color and fun to your planner spreads!
Don’t forget!
Once you upload your stickers and images you have them in the elements tool forever! With just a few minutes of effort, you can have dozens of fun stickers to choose from while you’re planning and organizing your life.
If you liked the stickers that you saw in this post, you’ll love our Everyday Stickers from the flourish shop!